Filed under: Buttons, Webdesign | Tags: 5 minute tutorial, button design, button tutorial, how to make a button, photoshop button design, photoshop button tutorial, transparent button, webdesign tutorial
5 Minute simple transparent button tutorial.
Step 1: Open a new photoshop document in photoshop. Set the size you want this button to be, and make the background transparent.

Button tutorial 1

Step 3: Create a new layer.

Step 4: Select the horizontal type mask tool.

Step 5: Choose your font and font size, and insert your text. Make sure you have selected the empty new layer.
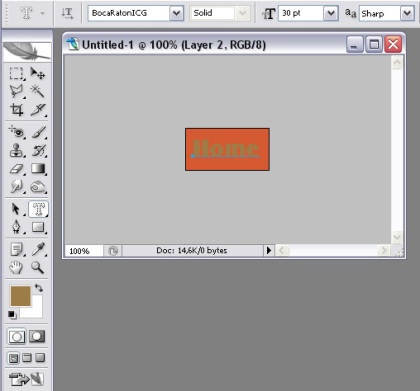
Step 6: Brush the selected area in the color of your choice (white in this case), then switch to the colored background layer.

Use the rectangular marquee tool to select the top half of the background layer.

Step 7: Select the Dodge Tool, and set it to midtones with a low/mid exposure (I used 31%). Carefully brush the selected area so the top will be lighter than the bottom area.

Step 8: Right click and select inverse.

Step 9: Select the Dodge Tool, then set it to Highlights.

Step 10: Use the Dodge Tool to make the bottom of the button bright.

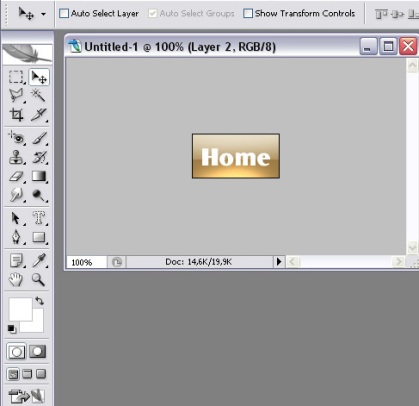
Step 11: Tweak the position of the text with the Move Tool. Make sure to have the text layer selected.
Step 12: Remove the text layer after you save the button as a .jpg, .png or a .gif. This allows you to create a new layer with a different text on it, so you won’t have to create the background again.

